


A Scene That Happens in Real Warehouses
“Why did our pick rate drop again this week?” the warehouse lead asked, pointing at the board.
“Because the racks are ‘strong,’ but the aisles aren’t,” the supervisor replied.
“What does that even mean?”
“It means the rack survives… until forklifts start clipping uprights, pallets flex, and we lose time fixing what we should’ve prevented.”
That’s the dirty secret: most rack failures don’t start with a dramatic collapse. They start with micro-damage, poor access discipline, and a design that didn’t match how people actually move pallets under pressure.
If you’re planning a new facility—or retrofitting an existing one—this is how to specify a Système de rayonnage pour charges lourdes that holds up when volume spikes, labour tightens, and small errors multiply.

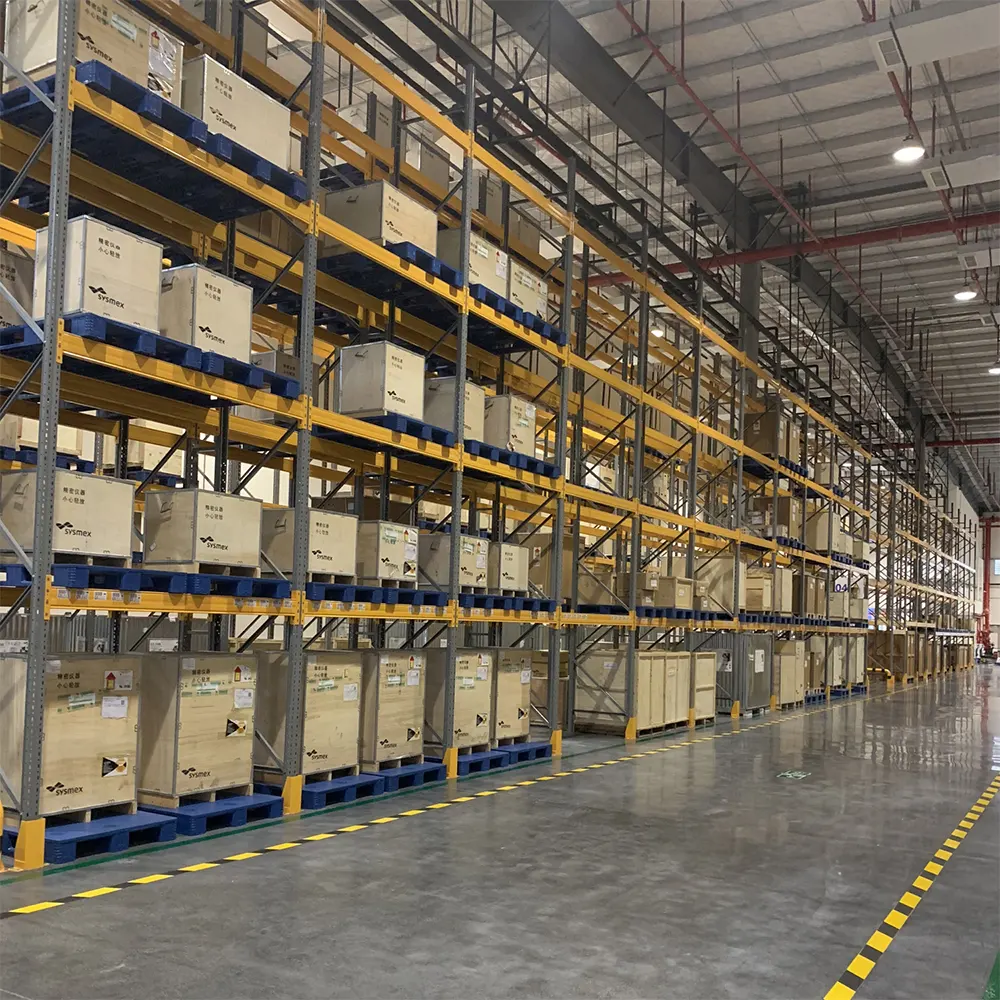
Système de rayonnage pour charges lourdes
What “Heavy Duty” Should Mean (Beyond Load Capacity)
A real Système de rayonnage pour charges lourdes is defined by how it behaves in operational reality:
Load capacity is only the beginning
You can buy “rated” racks and still suffer:
-
constant upright impacts
-
beam deflection that creates unstable pallet seating
-
lane congestion that slows replenishment
-
damaged anchors that turn safety into luck
Heavy duty = stable load path + predictable operation
Think of it like a bridge. Strength is useless without:
-
structural stiffness
-
controlled connections
-
known floor conditions
-
clear traffic rules
Step 1: Define Your Load Profile Like an Engineer (Not a Purchaser)
Before you ask anyone for “heavy duty,” describe what you truly store.
Build a load profile that includes:
-
Pallet type and condition variance (new, repaired, mixed quality)
-
Load footprint (overhang risk, uneven base, slip sheets)
-
Load distribution (uniform vs point loads)
-
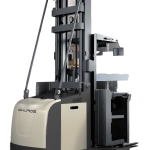
Handling method (counterbalance, reach truck, VNA, stacker)
-
Throughput intensity (how many touches per pallet per day)
Why this matters: a rack designed for static storage behaves differently under constant movement.
Step 2: Choose the Right Heavy-Duty Configuration for How You Pick
“Best rack” depends on your operating rhythm.
Selective pallet racking (most common)
Best when:
-
SKU variety is high
-
frequent access is required
-
pick accuracy depends on visibility
Hidden risk:
-
wide aisle demand + more travel
Double deep (higher density)
Best when:
-
SKU variety is moderate
-
you can accept deeper storage
-
you run stable replenishment timing
Hidden risk:
-
reduced selectivity, higher discipline needed
Drive-in / drive-through (very high density)
Best when:
-
you store bulk of the same SKU
-
pallet turnover fits LIFO/FIFO logic
-
aisle space is expensive operationally
Hidden risk:
-
higher impact risk and lane discipline requirements
In other words: your Système de rayonnage pour charges lourdes must match your inventory behaviour, not just your floor plan.
Step 3: Specify the Structural Details That Separate “Strong” From “Stable”

Système de rayonnage pour charges lourdes
This is where most buyers lose leverage—because these details aren’t obvious in photos.
1) Uprights: stability > thickness
Ask for:
-
upright profile design suited to your height and bay loading
-
bracing pattern that matches lateral forces
-
protection strategy at base and end-of-aisle
2) Beams: deflection control matters
Heavy loads + long beam spans = deflection risk.
Deflection doesn’t just “look bad.” It changes pallet seating and increases instability.
3) Connections: the quiet failure point
Beam-to-upright connections are where “rated capacity” meets reality.
If connectors loosen or deform under repeated impacts, your rack degrades fast.
4) Anchoring: your floor is part of the rack
No anchor discipline = long-term drift.
Specify:
-
floor condition assessment
-
anchor type and torque standard
-
inspection cycle for anchors under high traffic
Step 4: Design for Impacts, Not for Perfect Operators
Operators don’t hit uprights because they’re careless.
They hit uprights because:
-
staging blocks turning radius
-
travel paths cross at the worst points
-
lighting and visibility are weak
-
lane rules are unclear during peak
Build impact protection into the system:
-
upright protectors on high-risk bays
-
end-of-aisle guards
-
clear aisle markings and one-way logic
-
protected staging zones that don’t drift
A “heavy duty” rack that gets hit daily becomes an expensive maintenance program.
Step 5: Add an Operational Spec (The Part Most Rack Quotes Ignore)
A Système de rayonnage pour charges lourdes should come with a simple operational governance package:
-
load signage per bay level (clear, large, visible)
-
pallet quality rule (reject criteria for broken boards)
-
collision reporting SOP
-
weekly visual check routine
-
monthly rack inspection checklist
This is how you stop micro-damage from becoming macro downtime.
Mini Field Cases (Patterns You Can Recognize)
Case A: Manufacturing raw materials
Problem: pallets heavy, stable, but throughput surges at shift changes
Fix: reinforced end-of-aisle protection + clear staging ownership
Result: fewer lane blockages, fewer upright impacts
Case B: E-commerce overflow storage
Problem: mixed pallets, rushed replenishment during peak
Fix: better pallet quality rules + beam deflection control + clearer lane logic
Result: less rework, fewer “mystery damages,” more stable pick waves
Case C: Cold storage
Problem: space pressure + strict aisle behaviour
Fix: dense configuration + stronger impact protection + disciplined access rules
Result: better cubic utilisation without chaos
Système de rayonnage pour charges lourdes
FAQs
1) What makes a Heavy Duty Racking System “heavy duty” in real operations?
Not only load rating—stability, connection reliability, anchoring quality, and impact protection determine how it performs under constant forklift movement.
2) Should I prioritise density or access?
Prioritise the one that protects your operating promise. High SKU variety needs access; bulk storage can trade access for density.
3) Why do racks degrade even when they are rated correctly?
Repeated micro-impacts, pallet quality variance, poor anchoring discipline, and beam deflection gradually reduce system reliability.
4) What is the most common design mistake?
Designing for static loads and perfect traffic, then running high-speed peak-season operations through the same aisles.
5) How often should racks be inspected?
High-traffic warehouses benefit from weekly visual checks and scheduled monthly/quarterly formal inspections—especially at high-impact zones.
Conclusion
A Système de rayonnage pour charges lourdes is a warehouse stability tool, not just a storage tool. If you specify only load capacity, you’ll end up paying in impacts, downtime, and operational fragility. If you specify stability, connections, anchoring, and traffic reality, the rack becomes a backbone that holds up through peak—when everyone else’s “strong racks” start quietly failing.